RV Awning Operation ... step by step.
These instructions pertain to the A & E model 8500 RV awning
... most RV awnings are operated in a similar fashion.

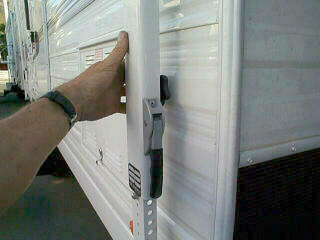
Release the travel locks on both RV awning arms. ...
... the travel locks may be released by squeezing the release tabs on some models, or swinging them out of the way,
on other models ...
Loosen the rafter knobs... the black knob at the rear of the RV awning arm
... these should be snugged up when travelling to prevent them from vibrating loose and falling out ...

Switch the ratchet mechanism to roll out position with the awning rod ... your model may have a slide mechanism
on the RV awning arm that releases the ratchet remotely.
Always travel with the ratch in the roll up position - this puts tension on the awning fabric to help keep the RV
awning in place ...
... only switch it to the roll out position when you are ready to roll 'er out!

Hook the pull strap with the awning rod and roll out the RV awning ...
... note the protective wheel on the entry door in this picture. This wheel prevents the RV awning from being cut
by someone inadvertantly opening the door before the awning has been raised to position ...
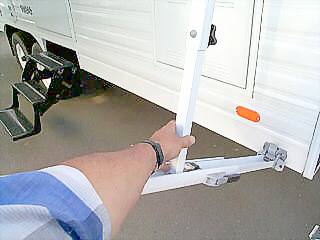
Slide the rafters up into position on the RV awning arms ...
... with the rafter knobs loosened, they should slide easily
... an occational spray with silicone will keep them lubricated ...
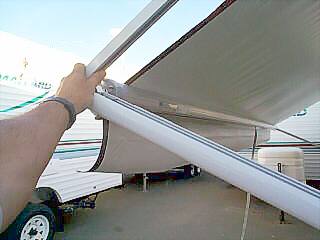
... and lock them into position ...

Tighten the rafter knobs on both rafters ...
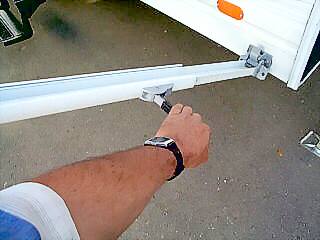
Lifting on the handle releases the lock and allows you to raise the awning to the desired height ...
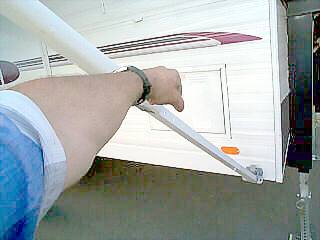
... then release the lever to lock the awning.

You may set out either awning arm into the patio position so that the arm is out of the traffic area ...
leave one side of the awning lower than the other to allow rainwater to drain off ...
... stake the legs to the ground with tent pegs to prevent the wind from lifting them ...
...Remember that the awning is designed as a sunshade and will only withstand so much wind or rain loading. If bad
weather is imminent, roll 'er up!
Awning Retraction Steps
- Lower the awning arms to the rest position.
- Loosen the rafters knobs and release the rafter catches.
- Slide the rafters down to the rest position.
- Grasp the awning to prevent it from rolling up by itself.
- Switch the ratchet mechanism to the roll-up position
- Control the roll-up with the pull strap and awning rod.
- Secure the travel locks and snug up the rafter knobs.